Getting Started with Leen OnRamp
This guide will walk you through the steps to integrate OnRamp, Leen’s embeddable onboarding component, into your application. Here’s a quick overview of the steps involved:- Create a connection invite token
- Initialize Leen’s OnRamp component
- Handle Response from OnRamp
- Regions and custom overrides (optional)
- Create Connections
Note: Currently, Leen’s OnRamp component only supports embedding into React applications. We can add support for other frameworks, please contact us to learn more.
Create Connection Invite Token
You can provision a new token by making a POST request to the Create Connection Invite Token API with the following payload:A connection invite token will be returned for a specific vendor - this token can be used to only create one new connection for the vendor specified in the payload.
-
you can optionally pass in any connection
options, like you would when creating a new connection via our API. These options will not be visible to the user, but will directly be applied to the connection when it is created.
Initialize Leen's OnRamp component
Leen’s OnRamp component has been published to npm library and can be installed using npm, yarn, bun, or any other package manager.Once installed, you can import the component into your React application and initialize it with the connection invite token. Here is an example of how you can use the OnRamp component in your React application:
Handle Response from OnRamp
Use the
useEffect hook with onRampResponse to handle the response from the OnRamp component and perform any necessary actions in your application. Whenever onRampResponse changes, the effect will run, allowing you to process the response data.onRampResponse will be an object of type LeenOnRampResponse, which can be imported in your application as seen in the snippet above. For reference, here is what the response object would look like:Regions and custom overrides (optional)
Regions
By default, OnRamp will use Leen’s US region. If you are using a different Leen region, you can set OnRamp to use a different region by passing in theregion in the config prop.For example, if you are using Leen’s EU Central 1 region, you can pass in the eu-c1 region to the config prop like so:Custom overrides
You can optionally override some settings for the OnRamp component. Specifically, you can change:- Primary color (defualts to Leen’s brand colors)
- Logo (defaults to Leen’s logo)
- Docs URLs for specficic vendors (defaults to Leen’s docs)
-
Font Family (defaults to Inter). To override the font family, you will have to provide both:
fontFamily: the name of the font familyfontUrl: the url to the font stylesheet (what you would normally add to the head of your html document)
-
Font Size. You can override the font size for specific text elements in the OnRamp component.
headerSize: the size of the heading font (defaults to 1.25rem)bodySize: the size of the body font (defaults to 1rem)buttonSize: the size of the button font (defaults to 0.875rem)
The font size can be in any standard css unit, likepx,rem,em, etc. -
Dark Mode. By default, OnRamp will use a light theme. You can override this by setting
darkModetotrueto switch to a dark theme. -
Dark Mode Colors. If the dark mode theme does not match your application’s colors, you can override the primary and secondary colors used in the component by passing in
darkModeColorswith the following keys:primary: hex code for the primary colorsecondary: hex code for the secondary color
Dark mode colors are only used whendarkModeis set totrue.
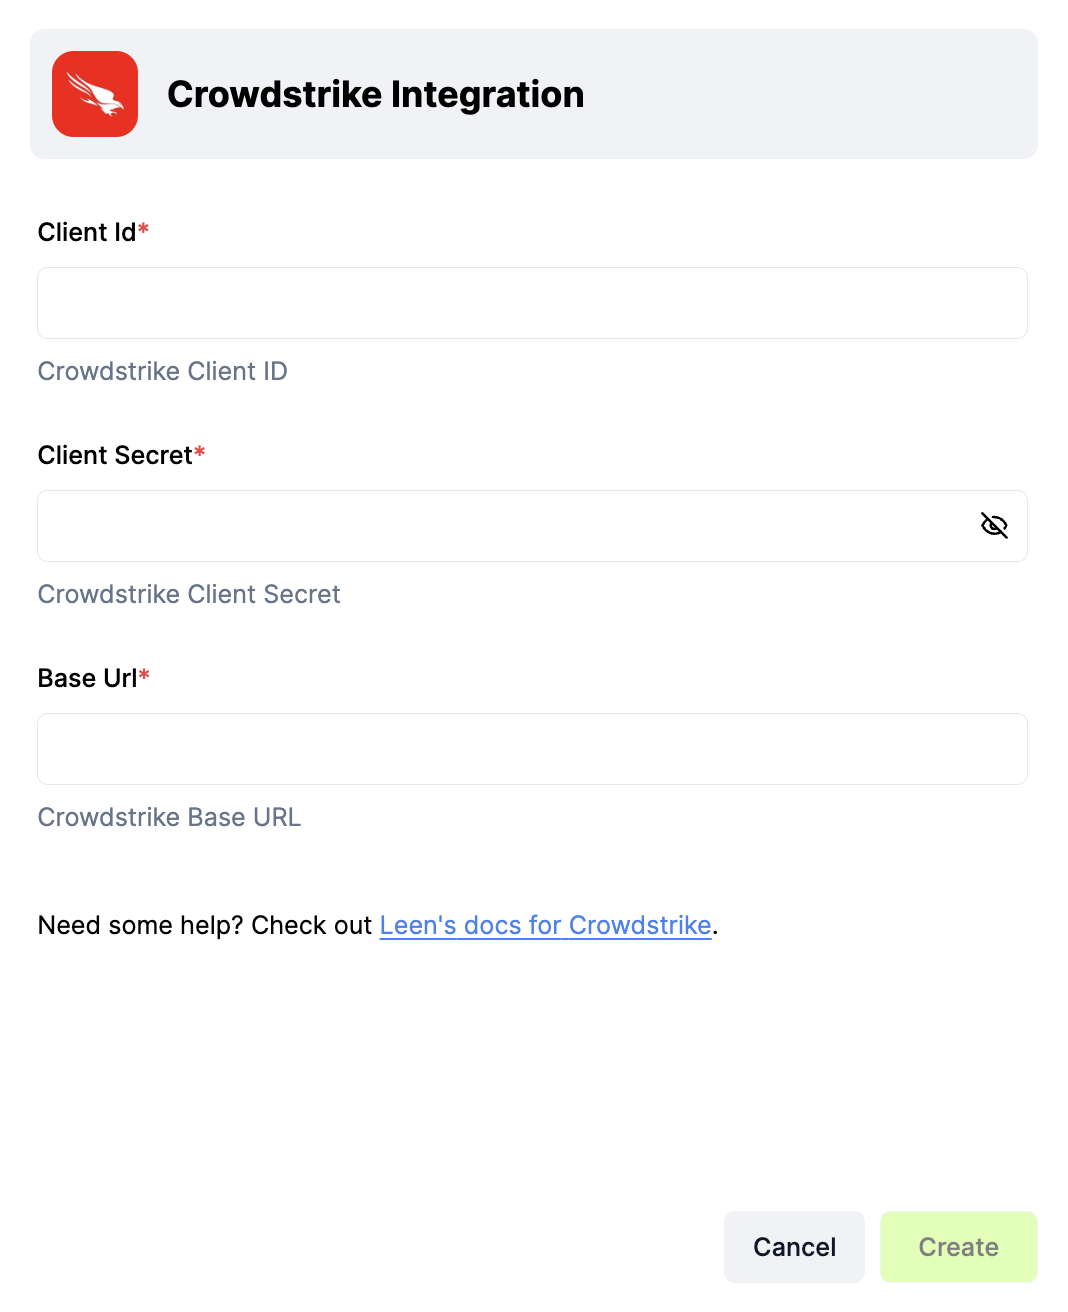
Create Connections
That’s it! Your users should now be able to create new connections or update existing connection within your application. OnRamp will open up as a modal in your application and your users will be presented with an interface to provide the right credentials for the vendor - via secrets or OAuth.