

JIRA OAuth App
Leen uses OAuth 2.0 for secure authentication with JIRA. Leen’s pre-configured OAuth app enables quick setup and handles the OAuth flow and token management automatically.User Creation
JIRA Cloud users are managed through Atlassian Administration:1
Atlassian Admin Hub
- Go to
https://admin.atlassian.com - Navigate to Directory > Users
- Click Invite users
- Enter the user’s email address
- Assign to the appropriate JIRA site
2
JIRA Site Administration (Site Admins)
- Go to your JIRA site (e.g.,
yourcompany.atlassian.net) - Click Settings (gear icon) > User management
- Click Invite users
- Enter email and select access level
Required Permissions
The user authorizing the Jira connection must have the Administer Jira global permission.Administer Jira Global Permission
This permission is required because the OAuth scopes include:manage:jira-configuration- Requires “Administer Jira” global permission to manage Jira global settingsmanage:jira-webhook- Requires “Administer Jira” global permission to manage webhooksread:jira-user- Requires permission to view user profiles and group information
Important: OAuth scopes alone do not grant access. The authorizing user must have the corresponding Jira permissions. For example, if a user does not have the “Administer Jira” permission, operations won’t succeed even if the app has the required scopes.
How to Grant Administer Jira Permission
In most Jira Cloud instances, the
jira-administrators or org-admins group already has the “Administer Jira” permission granted by default, so you may only need to add your user to that group.org-admins group to the global permission:
- Go to your JIRA site
- Click the Settings icon (⚙️) in the top right
- Select System from the menu
- Click Global Permissions
- Scroll to the bottom to find the Add Permission section
- In the Permission dropdown, select Administer Jira
- In the Group field, select or enter
org-admin - Click Add
org-admins group:
- In Jira settings, navigate to User management > Groups
- Find the
org-adminsgroup - Click on the group and add the authorizing user
Note: You must be an existing Jira admin or Site admin to access the Global Permissions page. Being a Site Admin at the Atlassian account level does not automatically grant Jira-specific admin permissions.
Key Points
- The authorizing user must be in the
org-adminsgroup - The user selects which JIRA site to connect during authorization
Recommendation: Ensure the authorizing user is either an Organization Admin or Site Admin who has been added to the
org-admins group to guarantee access to all necessary JIRA resources including webhooks and configuration data.Required Permissions
The JIRA OAuth app requires the following scopes:Onboarding
1
Create JIRA Connection
With your Leen API Key and your organization ID, make an API request to create a new JIRA connection.
More information can be found on the API Reference page.
The response will look like this:
Example POST body and response
Example POST body and response
Example with connection options
Example with connection options
You can optionally filter projects and provide custom mappings:
2
Authorize JIRA Access
Open the 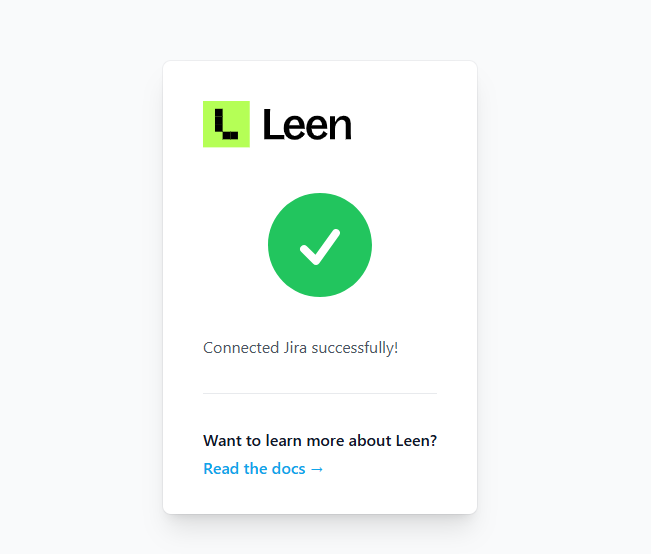
oauth2_authorize_url from the previous step in a browser.
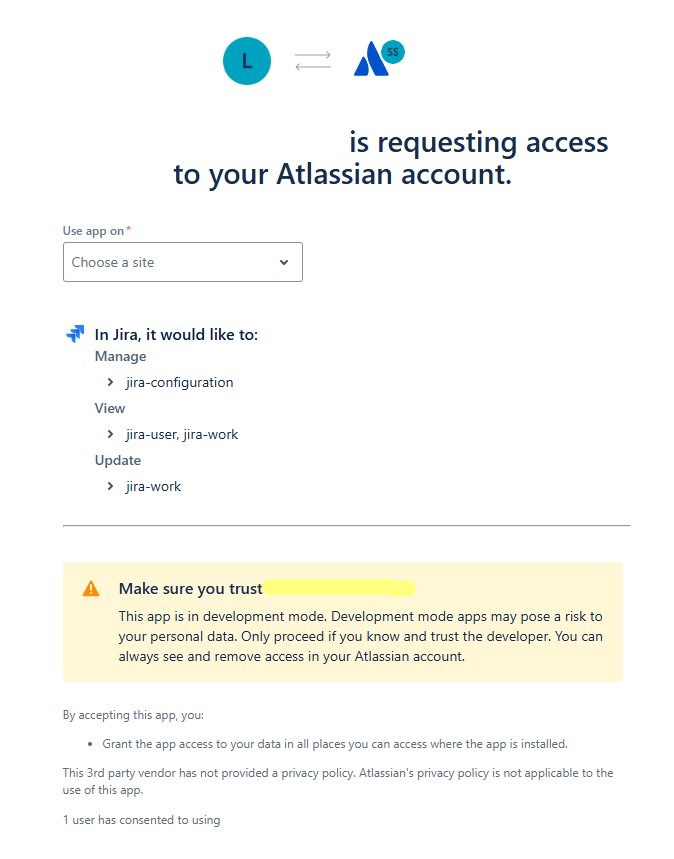
This will prompt you to authorize Leen to access your JIRA resources.- Log in to your Atlassian account
- Select your JIRA site from the list
- Review the requested permissions
-
Click Accept to grant access
Connection Options
Project Filter
You can optionally filter which JIRA projects to sync:Custom Priority Mapping
You can provide custom mappings from JIRA priorities to standardized ITSM priority values:CRITICAL- Highest priority, blockers, emergenciesHIGH- High priority, major issuesMEDIUM- Medium or normal priorityLOW- Low priority, minor issuesINFORMATIONAL- Lowest priorityUNKNOWN- Unmapped priorities
Custom Status Mapping
You can provide custom mappings from JIRA statuses to standardized ITSM status values:OPEN- Newly openedTODO- In backlogIN_PROGRESS- Actively being worked onIN_REVIEW- Under reviewBLOCKED- Blocked or on holdPENDING- Pending validation or testingRESOLVED- Resolved, awaiting closureCLOSED- Completed and closedCANCELLED- Cancelled or rejectedUNKNOWN- Unmapped statuses