

On this route you do not need to create anything in Azure or Entra. No new enterprise app, no new user, no app registration, and no API key. Leen’s Defender connector is a multi-tenant Microsoft application. It is added to your tenant automatically the moment an administrator grants consent, which is why you will not find it in Enterprise applications until after you complete step 3 below.
Prefer to use your own application? If your organization would rather Leen authenticated as an app registration you create and control, rather than consenting to Leen’s, see Connect with your own app registration at the end of this guide. That route takes longer and requires work in Azure, but nothing is granted to a Leen-owned application.
Before you begin
1. Confirm you have an eligible admin role. The account that authorizes the connection must be able to grant tenant-wide admin consent. Any of the following roles works:
Cloud Application Administrator and Application Administrator cannot normally grant consent for Microsoft Graph application permissions. That restriction does not apply here, because Microsoft Defender Vulnerability Management uses the WindowsDefenderATP API rather than Microsoft Graph.
2. Confirm your Defender environment is ready.
Microsoft Defender Vulnerability Management must be licensed in the tenant, and devices must be onboarded and reporting in the Microsoft Defender portal. If the Defender portal shows no vulnerability data, this connection will succeed but return nothing.
3. Know which tenant you are connecting.
If your account belongs to more than one Microsoft tenant, have the tenant name or ID ready so you can confirm it on the consent screen.
Connect your tenant
1
Start the connection
In the product you are connecting Microsoft Defender to, open the integrations or connections page and start the Microsoft Defender Vulnerability Management connection.You will be given a Microsoft authorization link, either opened for you automatically or shown for you to open.
2
Sign in as an administrator
Open the authorization link while signed in with an account that has one of the roles listed above.
3
Review and accept the permissions
Microsoft will display a consent screen listing the permissions Leen is requesting, with your organization’s name at the top.Confirm the organization name is the tenant you intend to connect, then select Accept.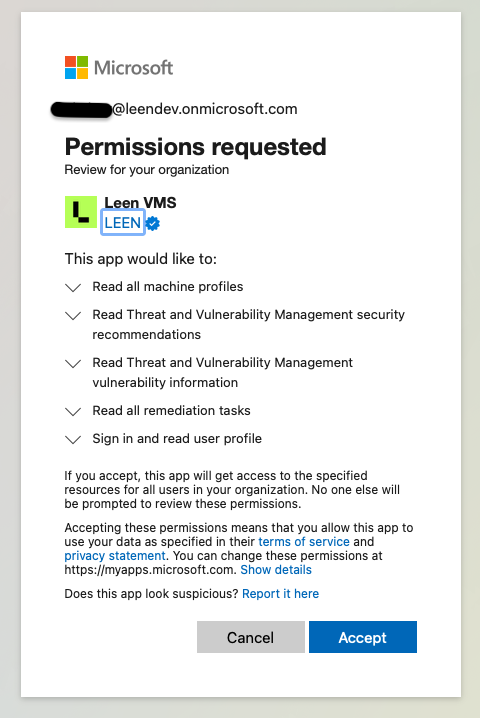 You will be redirected to a confirmation page once consent is granted.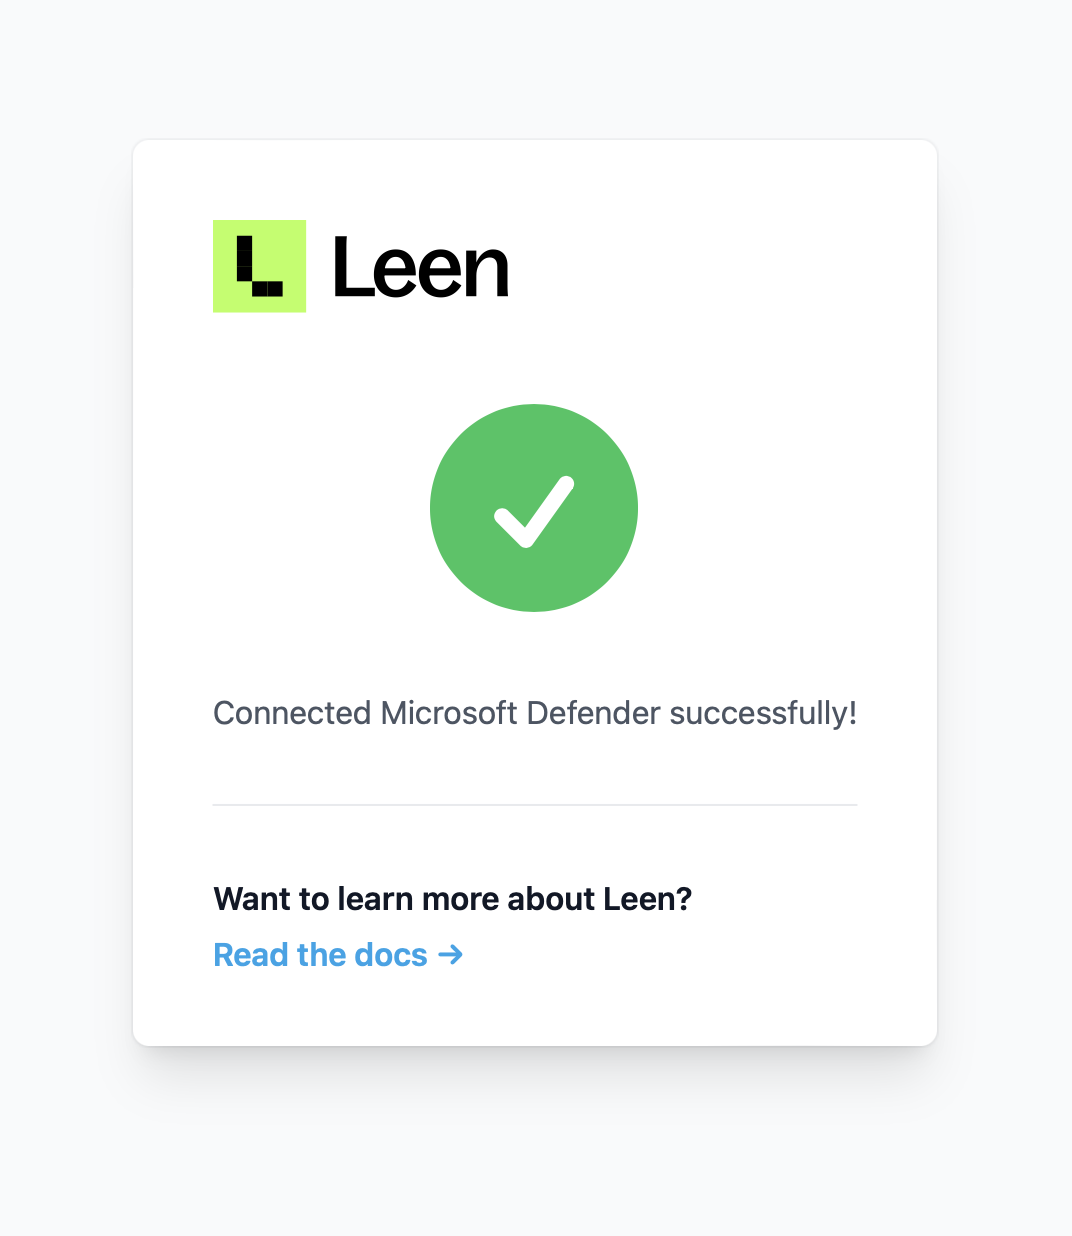
You will be redirected to a confirmation page once consent is granted.4
Confirm the connection
Return to the product you started from. The Microsoft Defender connection will show as connected and the first data sync will begin shortly after.
Connect with your own app registration
This is an alternative to the consent flow above, for organizations that would rather grant Defender access to an application they own rather than to Leen’s. Nothing is consented to a Leen-owned application on this route. It takes longer than the five-minute consent flow and all of the work happens in your Azure tenant. Microsoft documents the underlying pattern in Create an app to access Microsoft Defender for Endpoint without a user — Defender Vulnerability Management is read through the same API.You still need one of the admin roles listed in Before you begin, because you will be granting admin consent — just to your own application instead of Leen’s.
1
Register an application
In the Azure portal, open Microsoft Entra ID > App registrations > New registration. Give it a name that will mean something to whoever audits it later, and register it. Leave the redirect URI blank — this application never signs anyone in.On the Overview page, copy the Application (client) ID and the Directory (tenant) ID.
2
Grant the Defender permissions
Open API permissions > Add a permission > APIs my organization uses, and search for WindowsDefenderATP.Choose Application permissions, not delegated permissions. Leen reads vulnerabilities, devices and installed software, so grant
Vulnerability.Read.All, Machine.Read.All and Software.Read.All.Select Grant admin consent for <your organization> and confirm. The permissions should show a green tick before you continue.3
Create a client secret
Open Certificates & secrets > New client secret. Choose an expiry your organization is comfortable with, and copy the Value as soon as it appears.
4
Hand over the three values
Give the Directory (tenant) ID, the Application (client) ID and the client secret to whoever is setting up the connection, through whatever channel your organization uses for credentials.The connection becomes active as soon as they are entered. There is no authorization link to open and no consent screen on this route — you have already granted consent, to your own application.
5
Diarise the secret expiry
Client secrets expire. When the one you created expires, Leen stops being able to read from Defender until the connection is updated with a new secret value.Set a reminder ahead of the expiry date, and when you rotate the secret in Azure, pass the new value on so the connection can be updated.
One Microsoft tenant can be connected once per organization for Vulnerability Management. If the tenant is already connected, update the existing connection rather than creating a second one.