Supported Data Models
-
Vulnerability Findings
- type:
code - type:
host - type:
container
- type:
-
Resources
- type:
branch - type:
container - type:
host - type:
image
- type:
Required Parameters
These parameters are mandatory for the connector to authenticate and function properly.Onboarding Orca
Follow the steps below to onboard your environment to our Orca integration.1
Access Orca API Token Creation Screen
- Go to Settings > Users & Permissions > API. The list of all API tokens created in Orca appears.
- Click Add API Token.
-
On the General Configuration screen, copy the Organization UUID and save it.
2
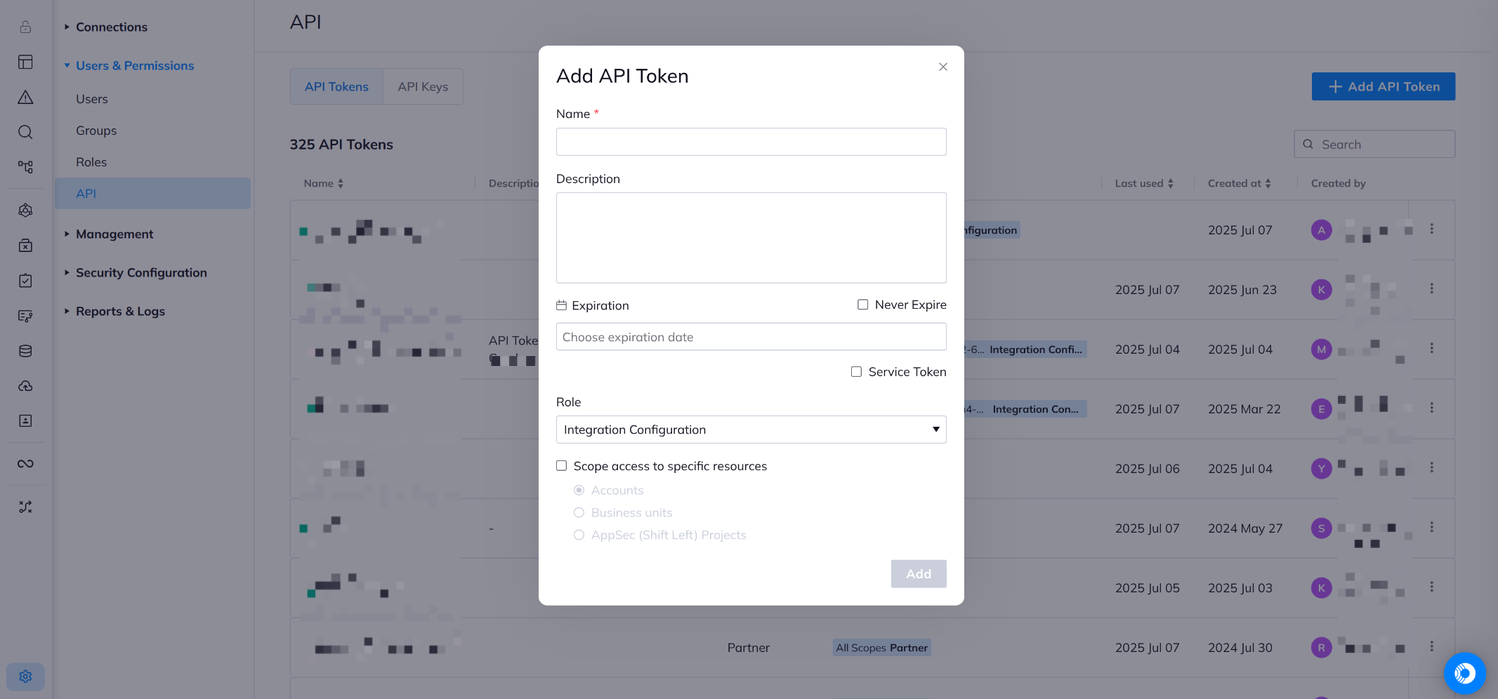
Define the API token settings
- Fill in the Name. Enter a unique name for the API token.
- Description: Describe the API token.
- Never Expire: Mark this checkbox to create a token that is valid forever.
- Service Token: Mark this checkbox to indicate that the created token is a service token.
Service tokens are not linked to a specific user. The token is scoped according to the user who created it but can still be used if the user is removed from the organization.
-
Role: Select the Viewer role from the dropdown. This is the minimum role required to read and retrieve data for the integration.
The Viewer role provides read-only access to all Orca resources including alerts, assets, and vulnerabilities. The integration does not require Editor or Administrator roles.
-
Scope: Configure which cloud accounts or business units the API token can access:
- All Cloud Accounts: Leave the scope unchecked to allow the integration to access data from all cloud accounts and business units in your Orca environment.
- Specific Resources: Check “Scope access to specific resources” to limit the token to designated accounts or business units only.
- Alerts: Security alerts including vulnerability findings of type
code,host, andcontainer - Assets: Resource information including branches, containers, hosts, and images
- Application Security findings: Code security vulnerabilities from AppSec scans
- Click OK to create the API token.
3
Save the API token
- Click Add. The Integration API Token window appears.
- Copy the token, and then click Continue.
- Save the API token for future use.
- The new API token appears in the list of tokens.